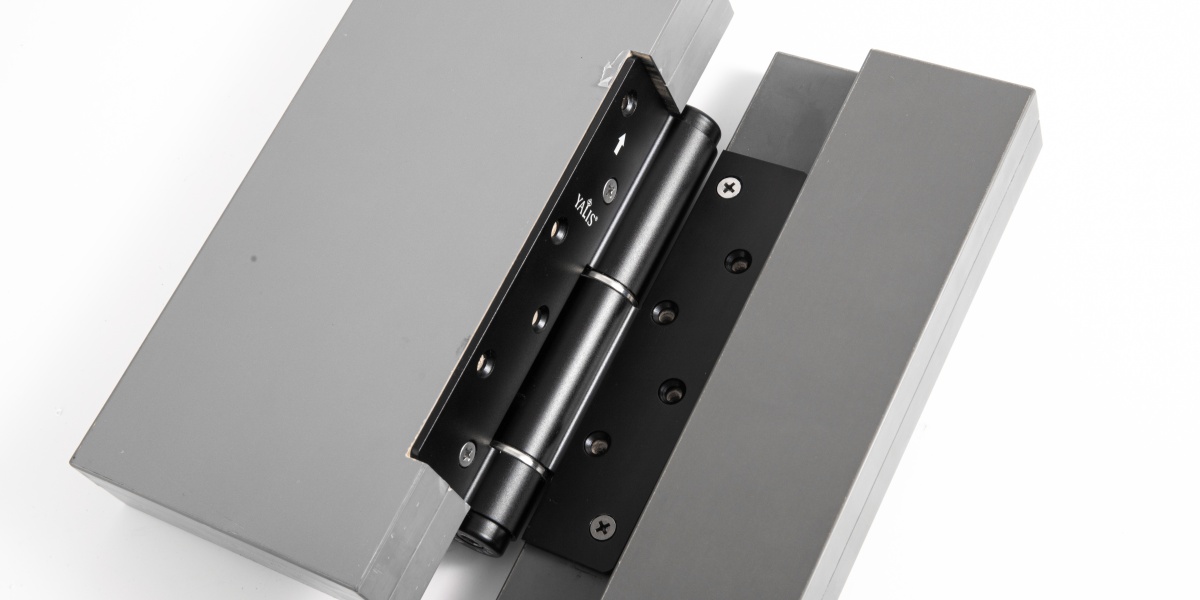
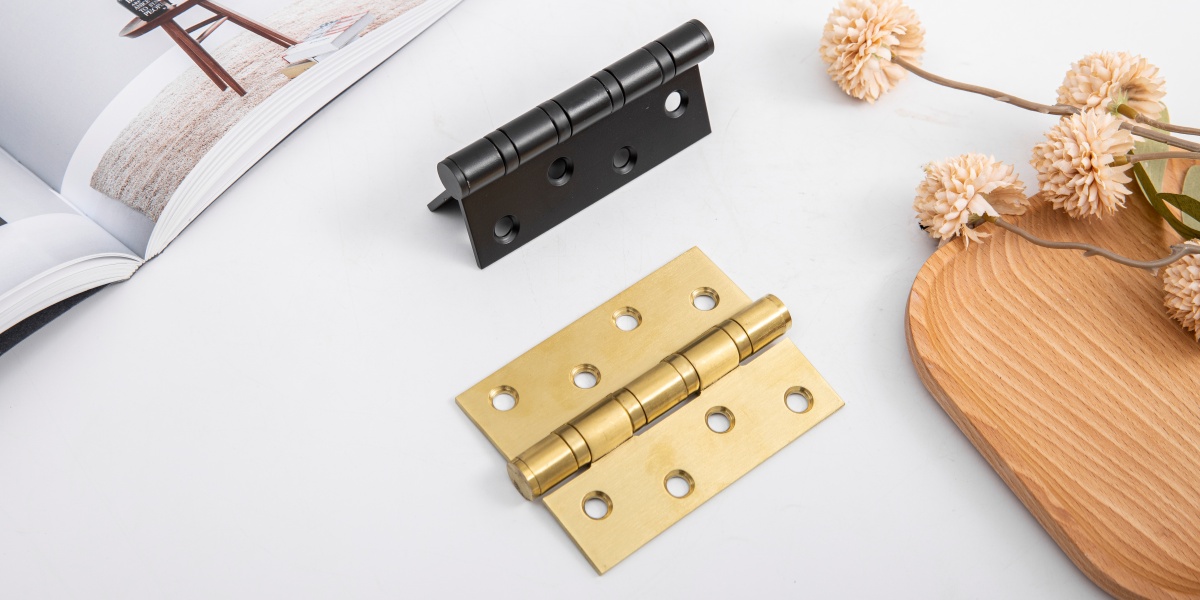
Installing door hinges may seem like a simple task, but doing it correctly ensures smooth door operation and longevity. At YALIS, with 16 years of expertise in manufacturing high-quality door hardware, we understand the importance of precision in installation. This guide will walk you through the steps to install door hinges effectively.
Tools and Materials You’ll Need
Before starting, gather the following:
Door hinges
Screws (usually included with the hinges)
Screwdriver or power drill
Chisel
Hammer
Pencil
Measuring tape
Level
Step 1: Select the Right Hinges

Choose hinges that suit your door type and weight. Common types include:
Butt Hinges: Ideal for standard doors.
Concealed Hinges: For modern, minimalist designs.
Heavy-Duty Hinges: For large or heavy doors.
Ensure the material and finish match your door's aesthetic and durability needs.
Step 2: Mark the Hinge Placement
Measure and Mark: Measure the distance from the top and bottom of the door to determine hinge placement. Typically, hinges are installed 5 inches from the top and 10 inches from the bottom.
Align the Hinges: Hold the hinge against the door edge and mark the outline with a pencil.
Step 3: Cut the Recesses
Score the Outline: Use a chisel to score along the pencil outline to create a shallow recess for the hinge leaf.
Chisel Out Material: Carefully chisel out the wood to the hinge thickness, ensuring a snug fit.
Step 4: Attach Hinges to the Door
Position the Hinges: Place the hinge in the recess and align it with the pencil marks.
Secure the Screws: Using a screwdriver or power drill, attach the hinge to the door with screws.
Step 5: Align and Attach Hinges to the Door Frame
Position the Door: Hold the door in place with the hinges aligned to the door frame.
Mark the Frame: Trace the hinge outline on the frame as you did on the door.
Cut the Frame Recesses: Repeat the chiseling process to create recesses in the frame.
Secure the Hinges: Attach the hinge leaf to the frame with screws.
Step 6: Check Alignment and Adjust
Test the Door: Open and close the door to ensure smooth operation.
Tighten Screws: Ensure all screws are secure, but avoid overtightening, which can damage the hinge or door.
Tips for a Successful Installation
Use a Level: Ensure the door hangs straight for proper alignment.
Pre-Drill Holes: To prevent wood splitting, drill pilot holes before driving screws.
Check Hinge Quality: Invest in durable, rust-resistant hinges for long-lasting performance.

Proper installation of door hinges is essential for functionality and durability. By following these steps, you can ensure your door operates smoothly and securely.
At YALIS, we offer a wide range of high-quality hinges and door hardware to suit any project. Explore our collection today and experience the difference in craftsmanship!
Post time: Nov-26-2024

